Tuesday, October 30, 2012

DIY Smash Book Mini Album

DIY Smashbook
Serendipitous Scrapper


I'm taking a break from posting and listing new Christmas stuff for the shop. It just felt odd to be covered in glitter and tinsel while I put the finishing touches on my kids' Halloween costumes.


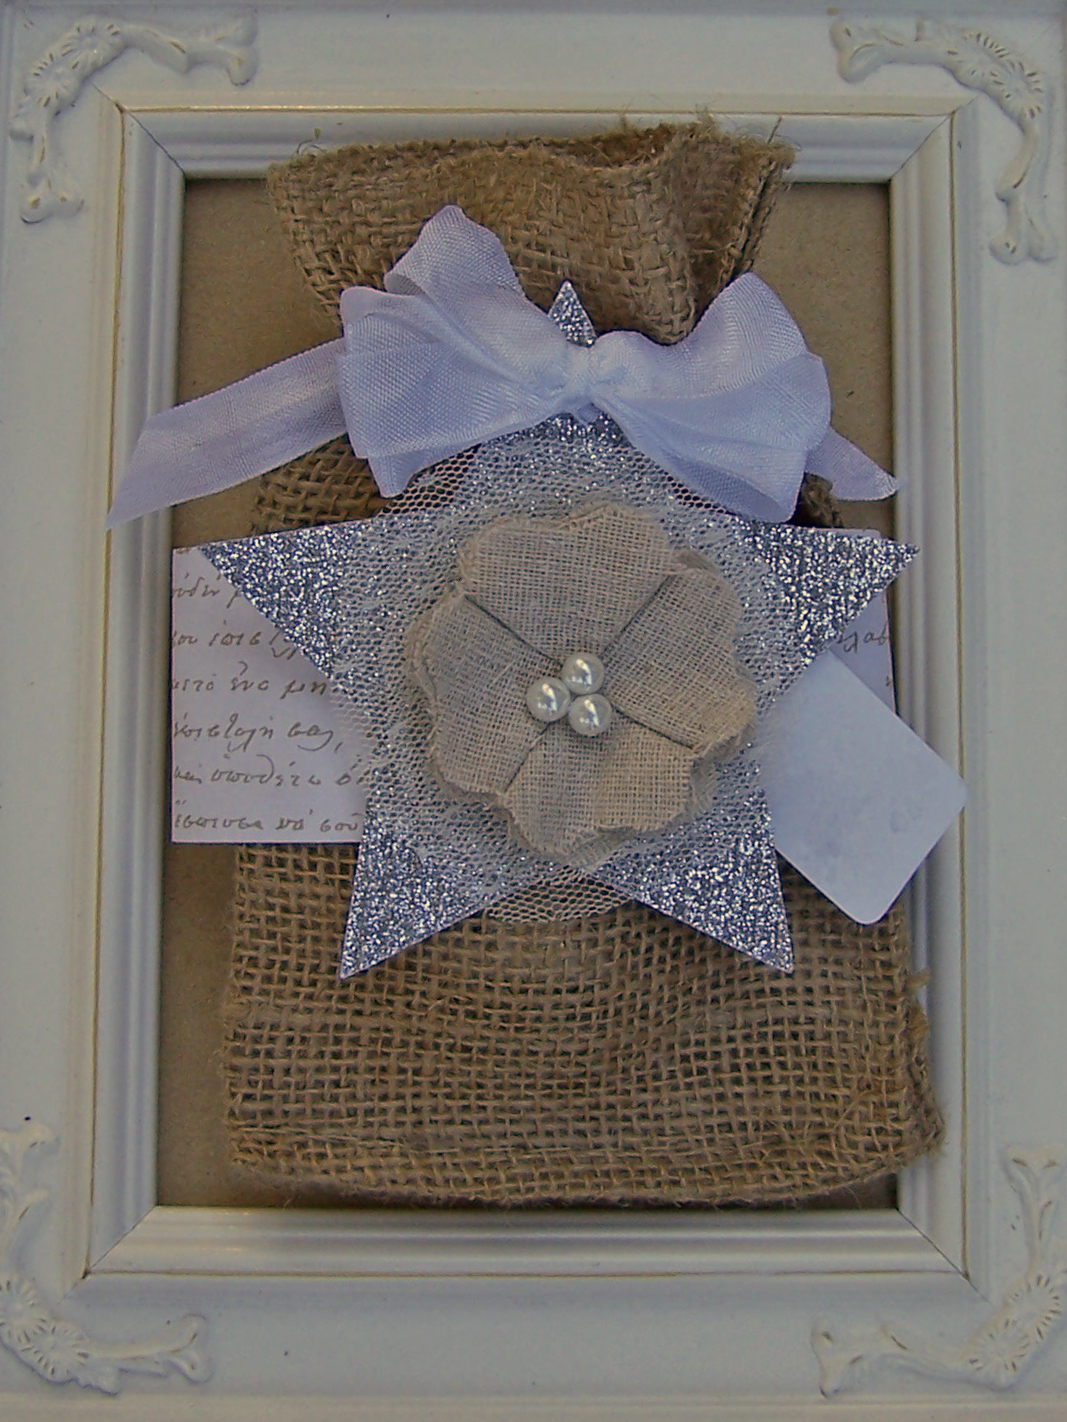
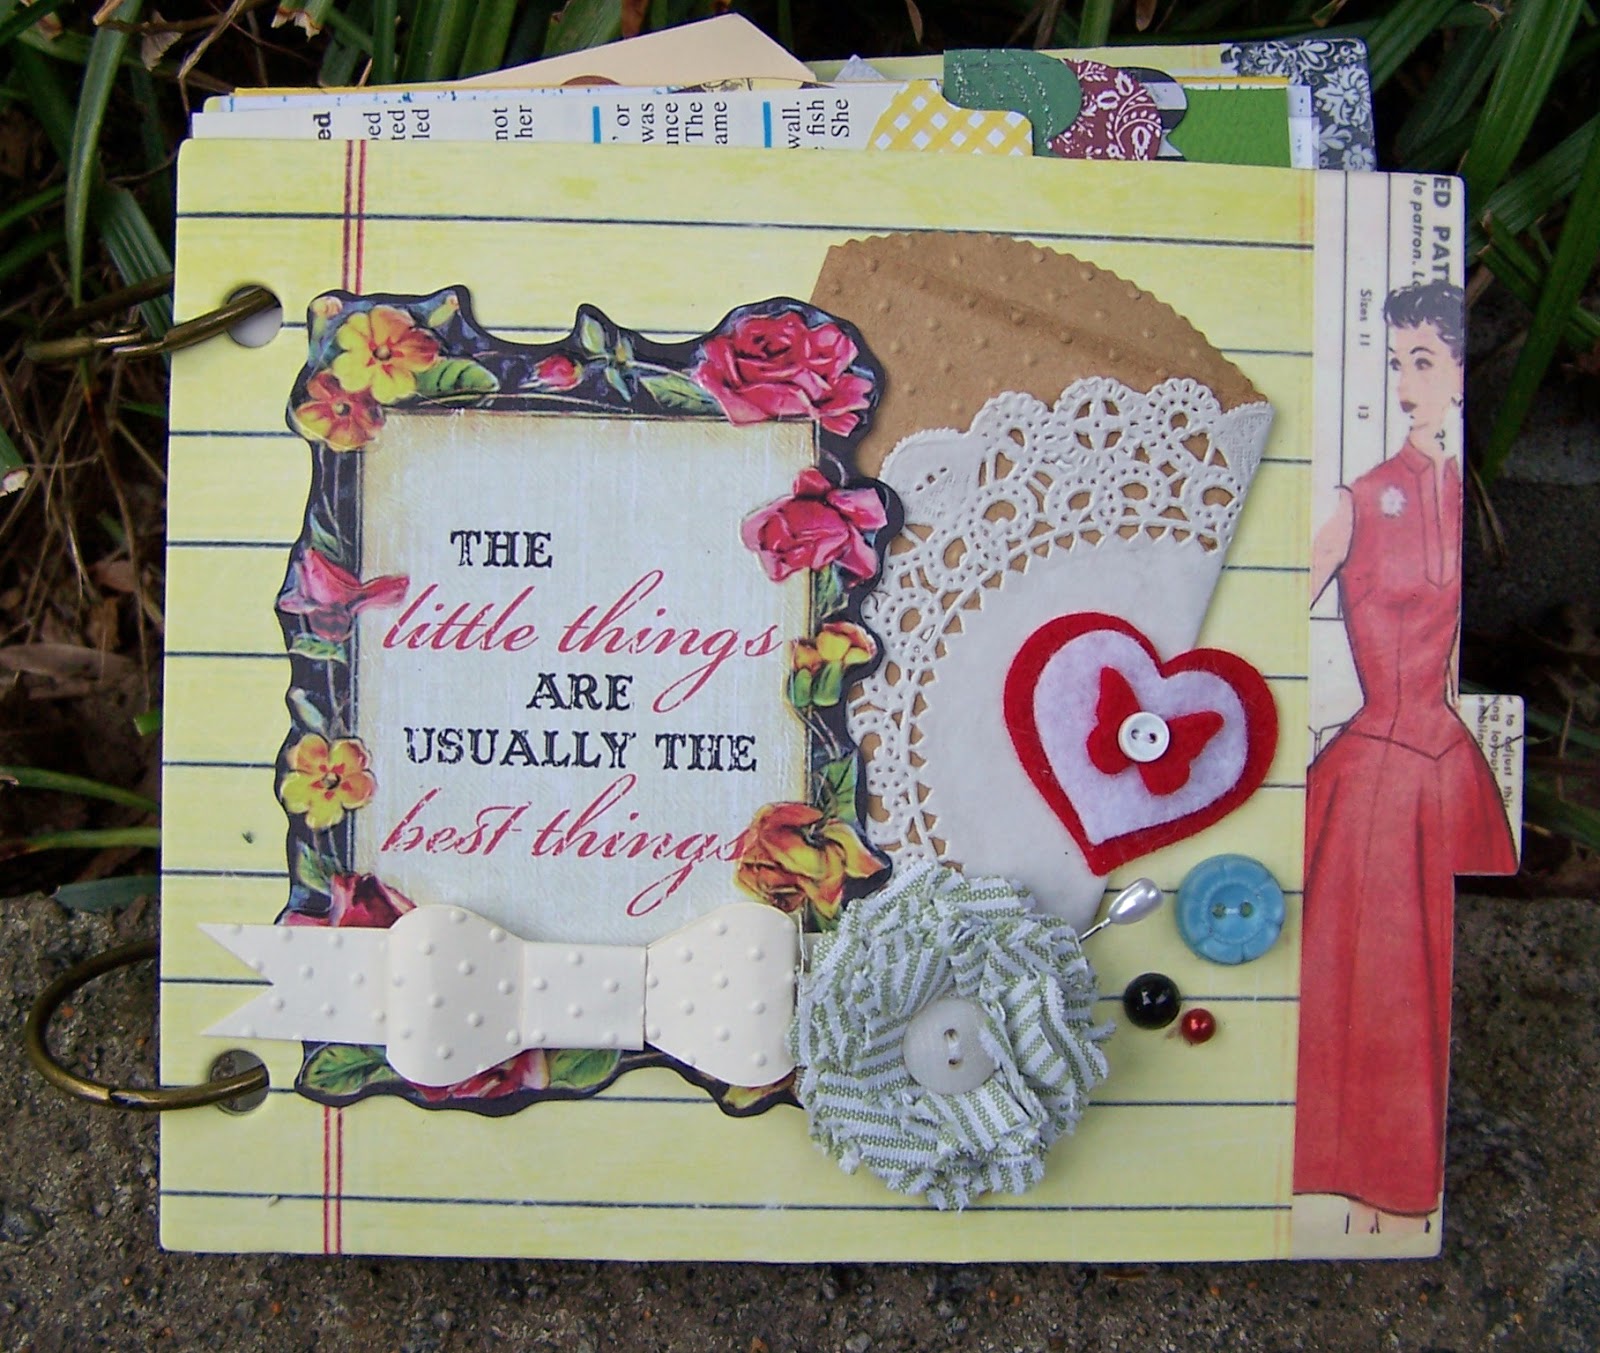
I made this smash book for a church auction a little while ago, and have yet to have a chance to share it. The cover and back are a Melody Ross Chipboard album I found on clearance. The inside includes everything but the kitchen sink!

Homemade smashbooks are a fantastic way to get rid of odds and ends. I included the following items to name just a few:

buttons

lace remnants

ribbon

felt die cuts

map pages

notebook pages

wallies

tabs

stick pins

fabric flowers

paper bows

dyed doilies


book marks

envelopes

plastic record

paper die cuts

cardstock

pattern paper

pearls

kraft bags

transparency sheets

Bows and appliques off used clothing

Shipping tags

Vintage Ads

Canvas and fabric remnants

lined paper

grid paper

dictionary pages


Cleaning up was AWFUL. I had stuff all over the craft room, but the expression on the winner's face was worth it. She is giving it to her daughter as a gift.

Have a great day,

CarrieAnne

Friday, October 26, 2012

Brown Paper Packages Tied Up with String - Kraft Boxes now available in the Shop!

Small Pinstripe Kraft Boxes - Curtsey Boutique

In the Sound of Music Julie Andrews claims brown paper packages tied up with string are included in her favorite things - I couldn't agree more!

These 2" x 2" x 2" boxes have a hint of a pinstripe design and are perfect for tucking in candies or small gifts.  They are now available in the shop. I'll be listing two more bigger sizes within the next few days.

Accenting negative space is all the rage these days and these tags came together quickly with my favorite Christmas punches. The top circle was embossed with my polka dot embossing folder and the two layers were offset by dimensional adhesive.  Light brown ink was used to distress the edges.

If you are short on time in making your own tags, these too are available in the shop.


Have a lovely weekend,

CarrieAnne

Wednesday, October 24, 2012

DIY Shabby Chic Burlap Gift Bags for Christmas

DIY Burlap Gift Bags for Christmas Kits
Curtsey Boutique
These burlap bags were added to the shop today and I can think of SO many things I can't wait to do with them. At 4 x 6 " they are perfect for gift cards or other small treats. I think these will be what I give my girl's teachers gift cards in for the holidays.

Burlap Bags
Curtsey Boutique
One of my favorite parts of the above project is the corrugated and glittered die cut stars! So pretty when paired with lace, pearls and seam binding.

In case you love pretty, but are pretty busy you can but a kit to make the gift bag shown above. The belly band is already made complete with the wonderful full seam binding bow. All you have to do is slide it on the bag, insert your gift and tie a knot with the seam binding. Leave the tails as long ar short as you like, but once the belly band is slid into place the bow and seam binding tails match up for a seamless and complete look.

If you rather create you own wonderful design you can purchase the bags plain. They are fantastic when stenciled, painted, glittered, stamped on or embellished with paper, lace, felt and tulle!

Have a lovely day, CarrieAnne

Monday, October 22, 2012

DIY Christmas Gift Bag Kits - Mini Lunch Bags

Curtsey Boutique Gift Bag Kits
My workshop is overflowing with boxes of new items for the shop. I am sorting, photographing and listing them as quickly as possible.

 In preparation for the Christmas season I'm adding a ton of new things including these fun mini lunch bags pictured above and a few kits to make using them hassle free for the holidays.

These small bags come in kraft and white, embossed with polka dots or plain.  The middle bag is scalloped punched with holes already made for the baker's twine to thread through.  I've tried to think of cute, and quick packaging solutions for your candies, cookies and other small gift items.

The fabric flower on the left bag can be made in any of the shops 40 fabric colors.

These are 1 lb bags that measure at full size: 3.5 x 2 3/8 x 6 7/8.

You can of course purchase these mini lunch bags without any embellishment and they would make fun paper bag albums that a large shipping tag would fit in perfectly. Perhaps I'll have to make one soon.

I'll keep updating the blog as items are listed.

Have a lovely day,

CarrieAnne


Friday, October 19, 2012

Shabby Tea Room Rustic Elegance Challenge Card

Shabby Tea Room Rustic Elegance Card
Serendipitious Scrapper

It's been a super busy week - the kind where kids get sick, something breaks, you have a million errands to run and the laundry has taken over the coach (in truth, I'm not even sure that the coach is still there). That being said my creative juices were absolutely gone so I'd thought I try a new challenge site to help jump start my card making efforts.

So this was my interpretation of challenge 136 "Rustic Elegance" at the Shabby Tea Room.

Here is their inspiration photo and we were given the prompts of using something elegant and rustic.


I love how the wood grain embossing came out. I wanted to really stress the texture so I used both Versa Mark ink and Creamy Caramel Stampin' UP! ink to highlight the details.

The frame was made with one of my new favorite tools - Martha Stewart's paper clay and silicon molds.  The rosette is from my shop and there is lots of Snow Queen glimmer mist over everything.

Have a great day,

CarrieAnne

Wednesday, October 17, 2012

Paper Bows in Freckled Fawn's Oh Deer Me Autumn Kit

Freckled Fawn Oh Deer Me Autumn Kit
This month my Curtsey Boutique Paper bows are once again being featured in a Freckled Fawn Kit.  Isn't this kit lovely - so whimsical and wonderful colors to boot.

Take a look at this beautiful card that Freckled Fawn design team member Melissa made showcasing the bows.

Card by Melissa - Freckled Fawn Design Team
I am so grateful to have been included in such a wonderful kit that supports so many great Indie companies and Etsy shops.


To purchase the kit visit Freckled Fawn Here

To see more inspiring projects using the kit visit the I am Doe blog Here

To view more of Melissa's fabulous projects and details on her blog Lilybean's Paperie Here

Have a lovely day,

CarrieAnne

Thursday, October 11, 2012

DIY Hybrid Halloween Banner and Photoshop "clipping" tutorial


One of my favorite days of the week is Wednesday, because over at Jessica Sprague they have $1 and 50% sales on digital papers and elements. I am not affiliated with the site in any way, except as a shopper who loves getting a great deal on Echo Park, Pink Paislee and other trendy paper company designs.

I have a friend who really, really likes Halloween. She does a wonderful job decorating her home and gets everyone in the spooky spirit. I'm not so big on Halloween, but thought it would be fun to make her a little mantle banner for her fireplace using some of this week's $1 deals from the Echo Park "Chillingsworth Manor" collection.

As I've begun dabbling in digital one of my favorite tricks has been discovering the use of "clipping".  Nearly any digital element can be used to "cut" out the shape of your choice.

I created the pennants for my friend's banner using the following steps:

1. Open the pattern paper and resize it so that the print will be proportionate to your project. I wanted to make the pennants in my banner 4x6.

Select the Image drop down menu: Resize: Image Size.

Be sure that "contrain proportions" is not checked and enter the width and height you would like to use. I always set my resolution at 300.


2. Open the shaped element of your choice:


 HINT: In order to see the images side by side select the Windows drop menu, Images and Tile option.

3. Now using your mouse drag your paper on top of the shape you will be cutting.

Be sure that in your Layers Palette that your pattern paper is above the shape you will be cutting.

4. Press and hold the Alt key while positioning the pointer over the line dividing the two layers in the Layers palette (the pointer will change to two overlapping circles ) and click.


The technical term that Photoshop uses for this is "grouping with previous".  It can also be accomplished by going to the "layer" drop down menu and selecting "group with previous".

If this process doesn't work out, it is most likely because your layers are not in the correct order in your palette.

Now you can embellish your pennants as you wish.  I added a number of elements from the Echo Park Chillingsworth Manor collection.


I'll share the completed project with you in my next post,


Have a lovely day,

CarrieAnne


Monday, October 8, 2012

A Thankful Vintage Halloween Card

A Thankful Halloween Card
Serendipitous Scrapper
Once upon a time a wondrous thing happened - a scrapbooking supplies addicted fair maiden found a perfectly good pair of Martha Stewart Fringe scissors in the clearance bin.  I don't know what person in their right mind would return these magical creatures, but they did and I snatched them up and have been using them for ALL sorts of fun things.

On this card I layered three 6 x 2.5 inch pieces of tulle (brown, orange and white). I whipped stitched the tulle at the top and than took the fringe scissors to them to create the fun frayed layers of tulle behind the doilies.

The glass leaves have been in my stash for 4 years (yes 4)!!  I found them at a flea market in Rotterdam and just now remembered I had them and put them to good use.

Most of the papers are Simple Stories, with the exception of the fun little vintage witch who is from Reminisce. I'm not big on monsters and ghouls, but sweet fun vintage Halloween images - those I love.

The dyed doilies are from my shop.


Thanks for stopping by,

CarrieAnne