
Kristin Greenwood brings us today's layout, filled with color and creativity. Sometimes, a girl just needs some color, and this layout provides color in spades!

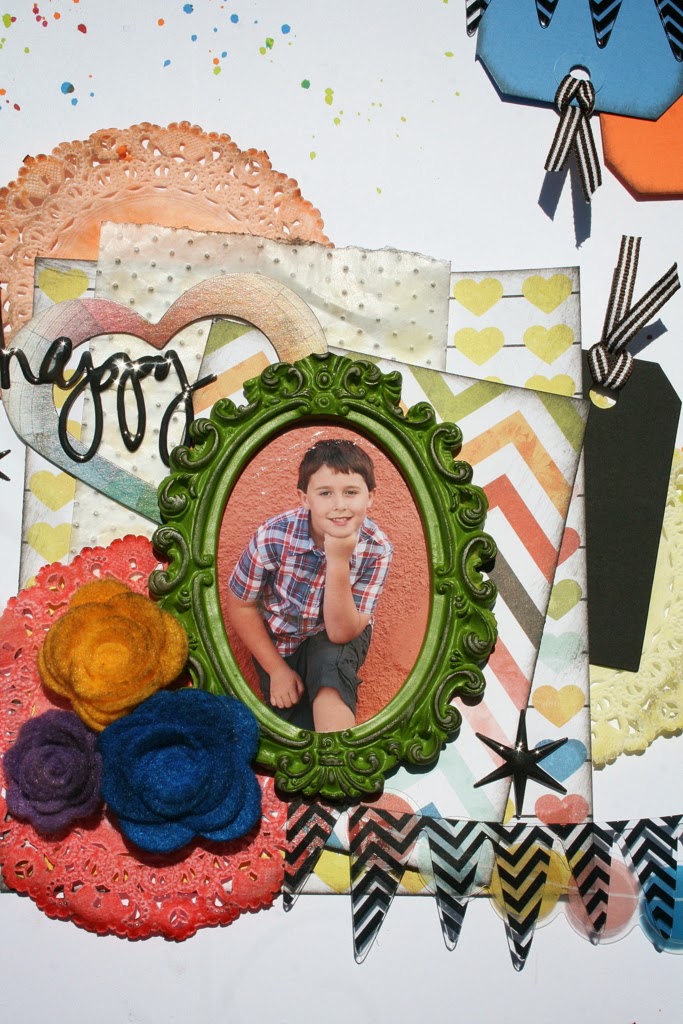


Kristin used the following colorful items from the shop to create this layout:
Set of 5 Mini Laughing Lilac Rolled Felt Roses
Set of 5 Medium Proud Peacock Rolled Felt Roses
4 inch Sunset Red Round Doilies, Hand Dyed Set
Set of 5 Medium Chirpy Canary Rolled Felt Roses
Small Blue Shipping Tags 4 3/4 x 2 3/8
4 inch Orange Round Doilies, Hand Dyed
4 inch Yellow Round Doilies, Hand Dyed
Chalkboard Tags - QTY 12
Small Orange Shipping Tags 4 3/4 x 2 3/8
Glassine Bags - Embossed Polka Dot
To see more of Kristin's work, you can check out her blog HERE, and don't forget to check out all the items in the shop for all your embellishment needs!


