Curtsey Boutique Project Instruction Page
Muslin Bag Hand warmers
Original Design : Jenifer Cowles
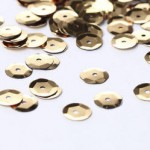
Curtsey Boutique Supplies:
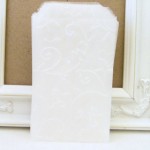
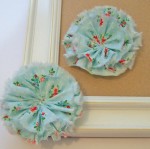
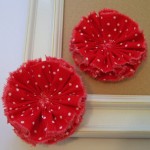
With the weather being so cold in most of the country I needed a little bit more to keep my hands warmer than just a pair of gloves. Using the 4x6 muslin bags from the shop I was able to create these super easy but useful hand warmers.
Project Instructions:
Since this will be heated up in the microwave you don’t want to decorate to heavily. I stitched a simple heart with bakers twine in the center of my muslin bag. Fill the bag with 1 cup of rice and stitch the bag closed. Done!! Now 30 seconds in the microwave you have a little warmer to keep in your coat pocket. Enjoy. These would make wonderful gifts.
The Curtsey Boutique is an artisanal shop specializing in handcrafted and supply items that add a touch of whimsy and vintage inspired delight to home decor, crafting, wedding, special events and celebrations of everyday joy. These project sheets are for the use of our customers and wholesale clients. They may be shared on the internet with proper credit and a link back to the Curtsey Boutique blog or shop. They are not to be used for resale, distribution or to be edited and redistributed in any way.