
Welcome to day 10 of my CHA Update. Today we will be looking at two mainstays of the industry My Mind's Eye and Ranger.
My Mind's Eye
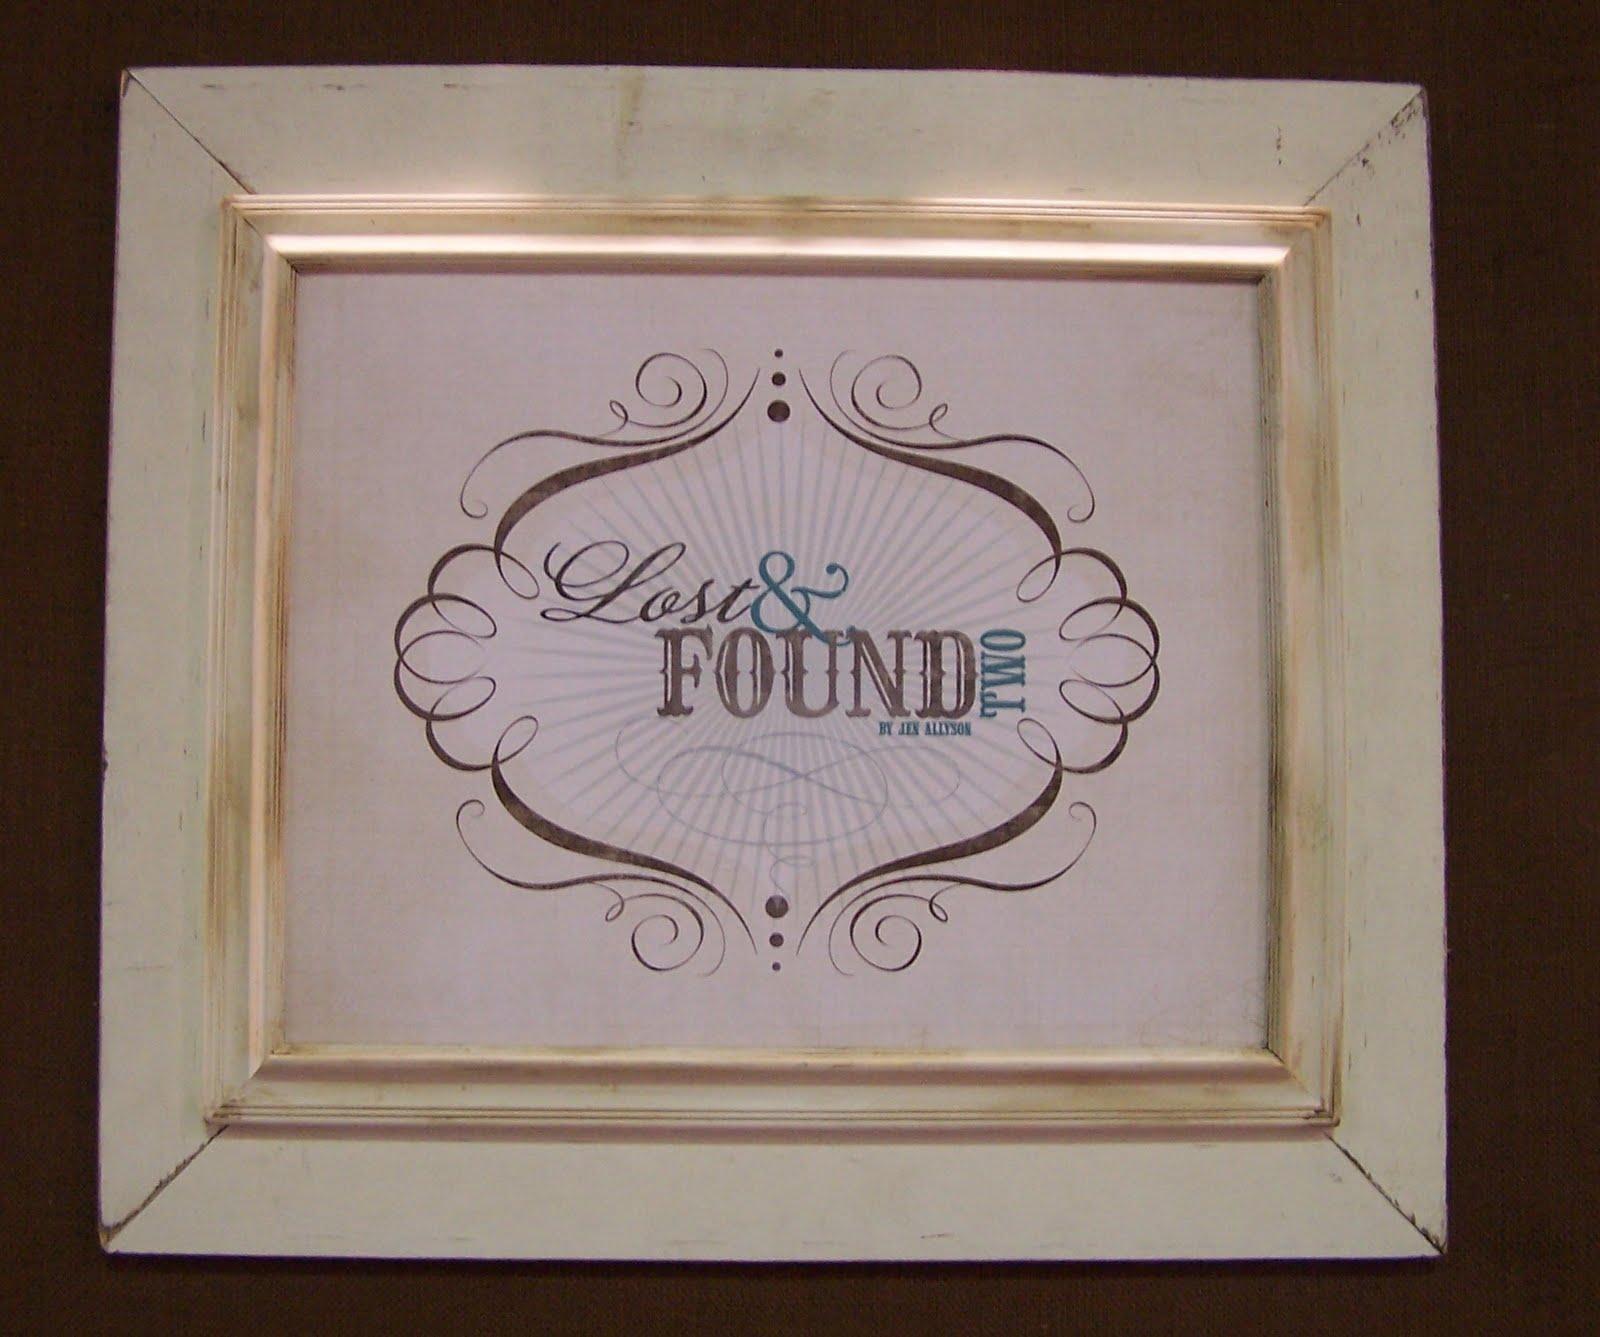
Coming off their successful Winter release "Lost and Found" My Mind's Eye debuted two new "Lost and Found" collections at the show, "Lost and Found Christmas" and "Lost and Found Two". They also showcased a fun Halloween line they call "Mischievous."

To see more product images visit the My Mind's Eye website here: http://www.mymindseye.com/
For fresh thoughts and projects visit the My Mind's Eye blog at: http://mymindseye.typepad.com/blog/
Ranger
I know this seems sacrilegious, but I don't remember spending time at the Ranger booth in previous shows. When we were walking past, Tim Holtz was demoing so I stopped and took his picture and then moseyed around the booth. I really don't think you get a sense of Tim Holtz's popularity until you see grown women and buisness owners mob him for his autograph while he is trying to work. He was very polite, and I was quite impressed with the manner in which he engaged his fans and customers.


 To learn more about the entire gamut of Ranger products visit their website here: http://www.rangerink.com/
To check out the daily ponderings of Tim Holtz, visit his blog here: http://www.timholtz.typepad.com/
Thanks for stopping by,
CarrieAnne
My Mind's Eye
Coming off their successful Winter release "Lost and Found" My Mind's Eye debuted two new "Lost and Found" collections at the show, "Lost and Found Christmas" and "Lost and Found Two". They also showcased a fun Halloween line they call "Mischievous."
 |
| My Mind's Eye Lost and Found "Christmas" |
 |
| My Mind's Eye Lost and Found Two "Rosy" |
 |
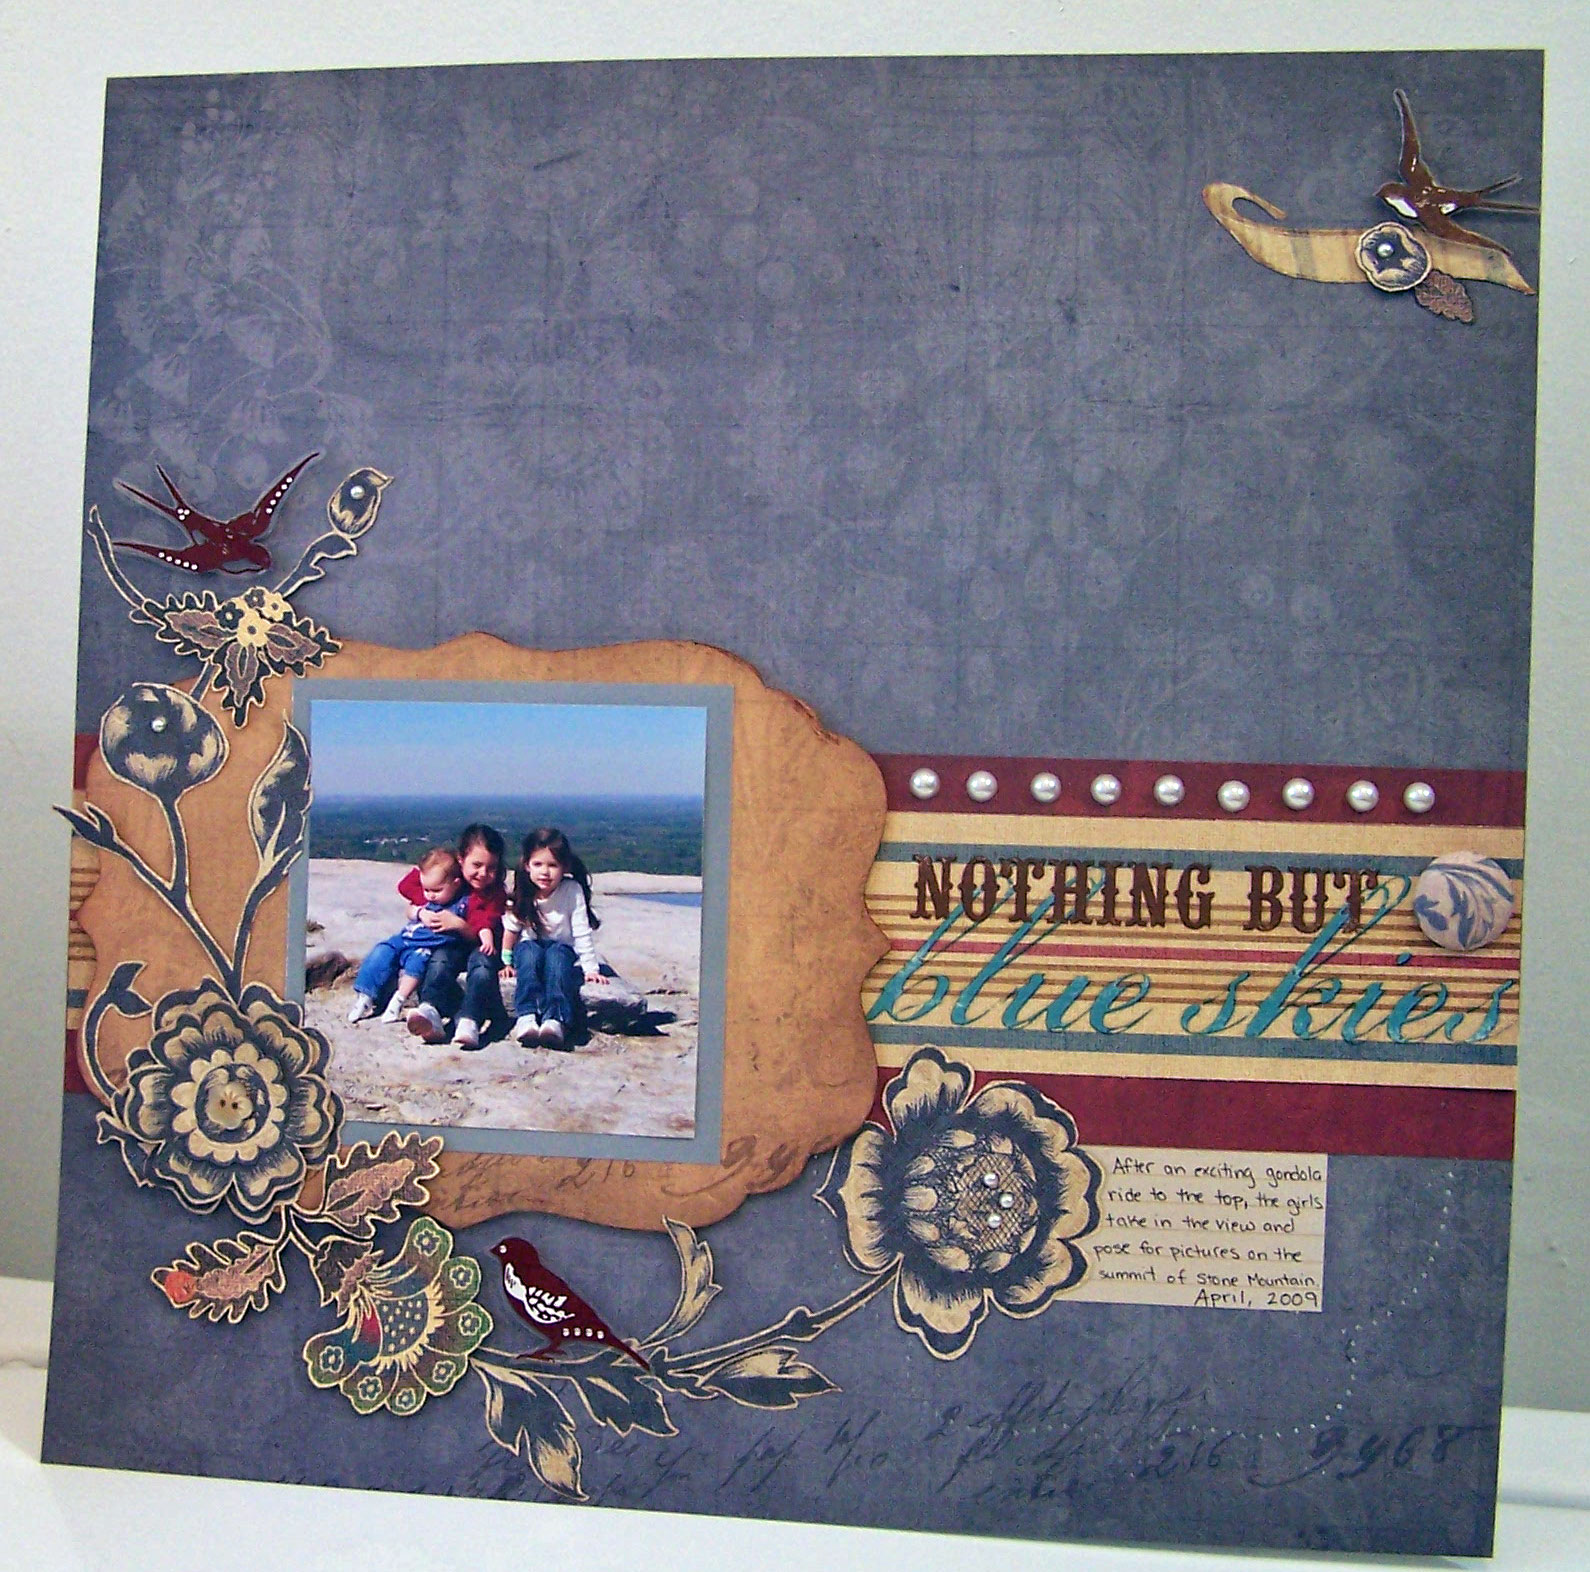
| My Mind's Eye Layout featuring Lost and Found Two "Sunshine" |
 |
| My Mind's Eye Layout featuring Lost and Found Two "Sunshine" |

 |
| My Mind's Eye Lost and Found "Christmas" |
To see more product images visit the My Mind's Eye website here: http://www.mymindseye.com/
For fresh thoughts and projects visit the My Mind's Eye blog at: http://mymindseye.typepad.com/blog/
Ranger
I know this seems sacrilegious, but I don't remember spending time at the Ranger booth in previous shows. When we were walking past, Tim Holtz was demoing so I stopped and took his picture and then moseyed around the booth. I really don't think you get a sense of Tim Holtz's popularity until you see grown women and buisness owners mob him for his autograph while he is trying to work. He was very polite, and I was quite impressed with the manner in which he engaged his fans and customers.

 |
| Ranger Adirondack Pigment Ink Samples |


To check out the daily ponderings of Tim Holtz, visit his blog here: http://www.timholtz.typepad.com/
Thanks for stopping by,
CarrieAnne


