

Have a fantatic weekend and be sure to check back on Tuesday for my last post with My Pink Stamper - I can't believe the 6 months have flown by so quickly and our DT term is already up!
Cricut Cartridges: A Child's Year, Tags, Bags, Boxes and More, Plantin Schoolbook
Embossing Folder: Cuttlebug: Swissdots
Patterned Paper: Graphic45, October Afternoon, Prima, Miss Arts Papercrafting School: Ruth's Recipe Kit
Dies: Nestabilities Circles: 3," 2.25"
Star Punch: EK Success
Lace: Wyla
Adhesive: Zip Dry, Glue Dots, Tombow Aqua Liquid Glue
Buttons: Misc.
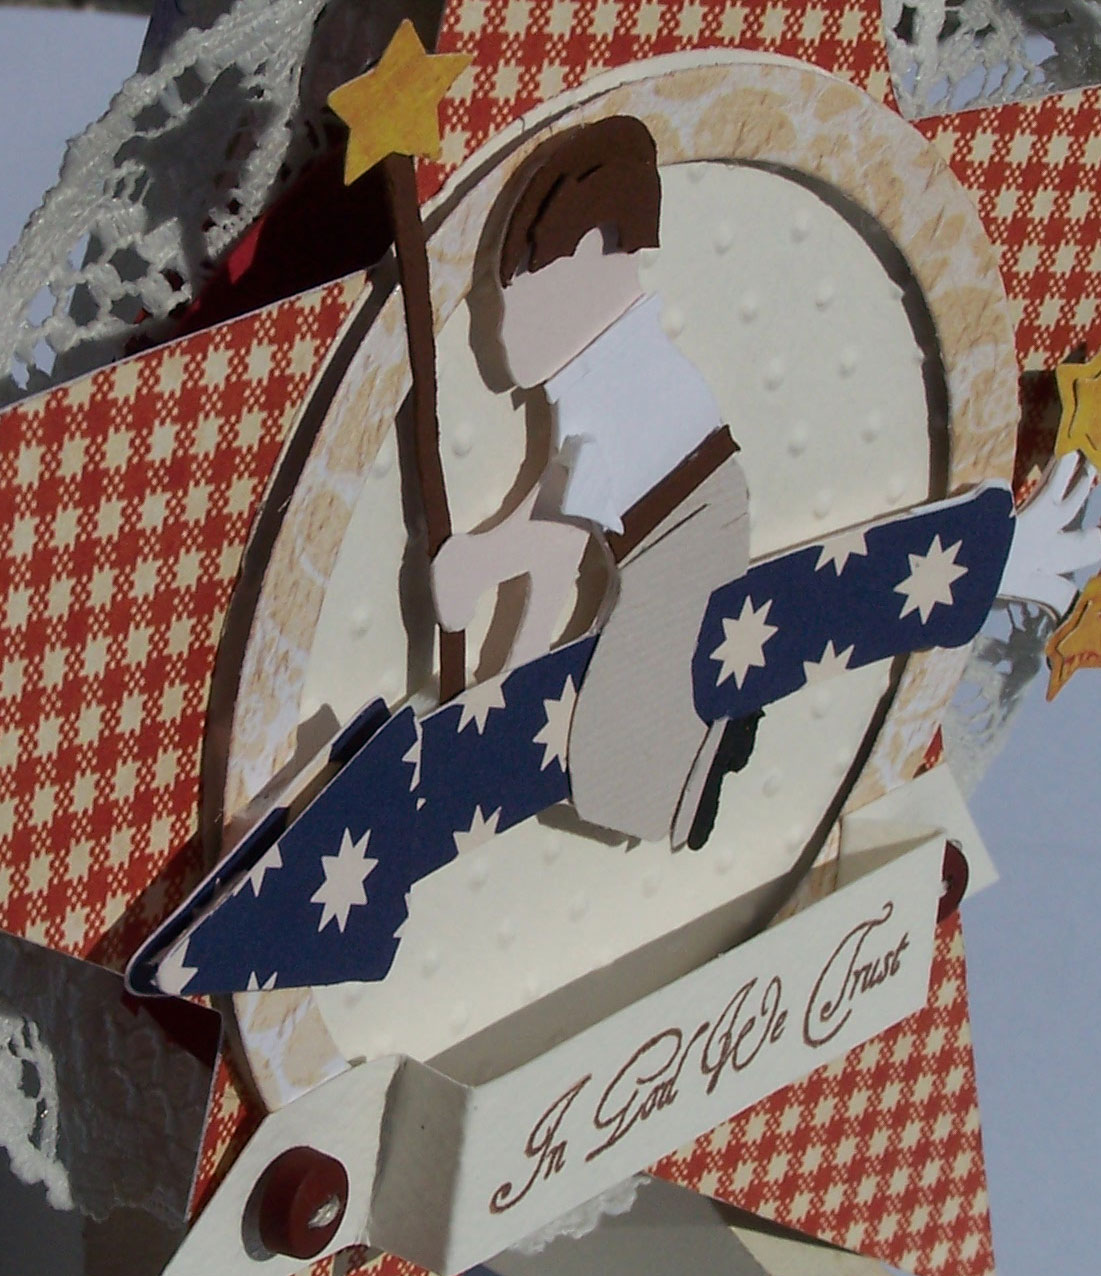
Cuts:
A Child's Year: "4July2-s" cut at 2.5" from white, peach, brown, gray, black, and white cardstock, blue star patterned paper, and yellow patterned paper
Tags, Bags, Boxes and More: (round card base) "circle" cut with "mirror" function selected at 2.75 inches
Plantin Schoolbook: "star" cut at 6.5"
Thanks for stopping by,
CarrieAnne


