
 |
| Stamped Ribbon Tutorial |
My poor stamps are quite neglected so I've decided to dust them off and try something new with them. All this week I'll be showing projects and tutorials featuring fabric and stamping. First up - creating your own stamped ribbon. I've seen a ton of beautiful examples on Pinterest and Etsy so I thought I do a few experiments to see what I could come up with. I had no desire to spend $$$ figuring out how to do this so I just used what I already had.
SUPPLIES
Fabric scraps
Ink
Stamps
Scissors
 |
| Step 1: Find fabrics in your stash that have a neutral background. |
 |
| Step 2: Cut a slit of your desired ribbon width. I cut about an inch or 2. |
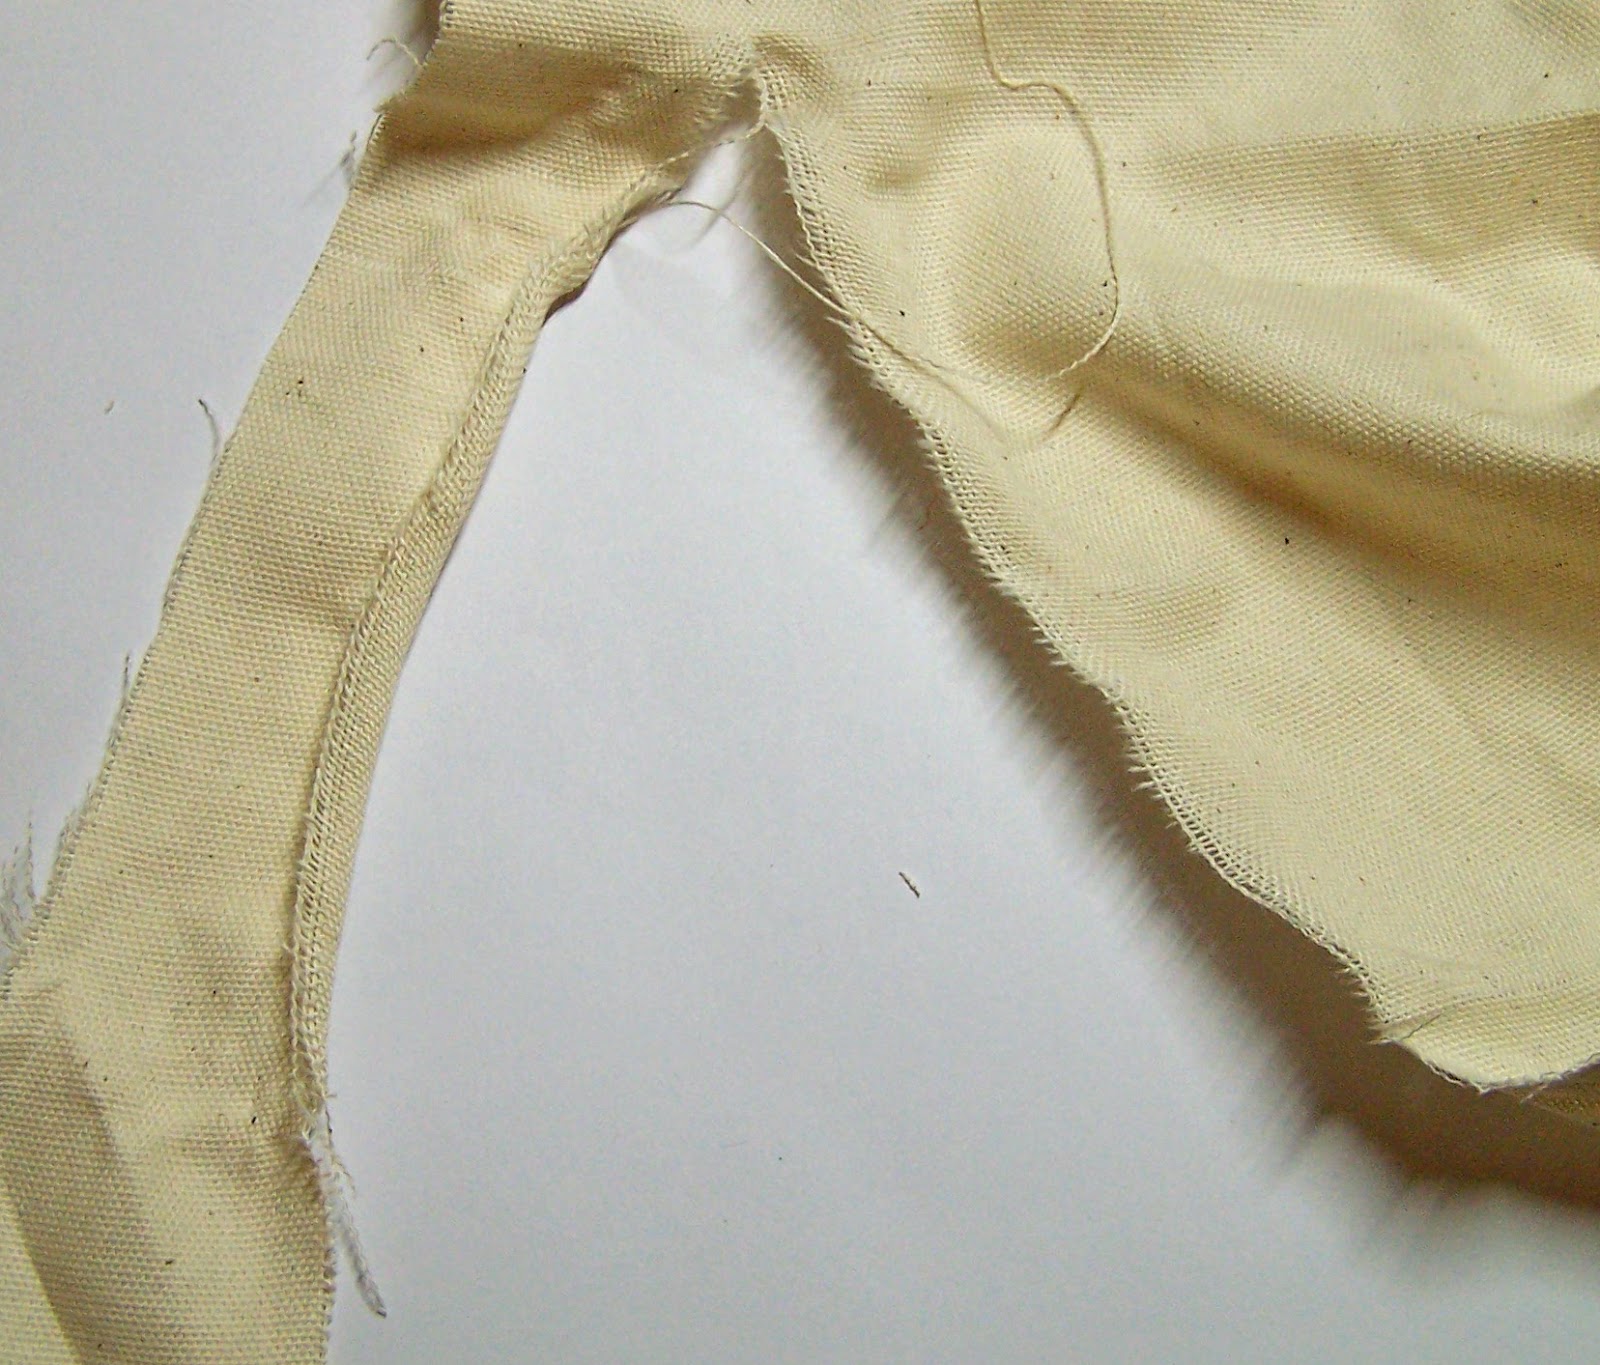 |
| Step 3: RIP!!!! (this is my favorite part) |
NOTE: I discovered recently that fabric has a grain. (Stop laughing! I've never claimed to have any decent knowledge regarding sewing) Tear with the grain for a basically straight line.
 |
| Step 4: Select Stamps and Ink and stamp away. |
Step 5: Trim off crazy long strings.
 |
| Step 6: Package cutely! |
Here's a few I came up with:
 |
| One color of ink, one stamp. |
 |
| One color of ink, multiple stamps. |
 |
| Multiple colors of ink, multiple stamps. |
 |
| Stamping on shiny fabric and embellishing |
I burned the edges on this last one because the fraying was too crazy
I've already used some of mine on packaging for the shop and on cards. If neatness and straight lines are important to you, I suggest ironing before stamping. I decided to be a free spirit and not let it bother me today :)


Have a great day,
CarrieAnne
No comments:
Post a Comment
I love feedback and appreciate the time it takes you to leave it :)